Registering a name in Lopux-Internet
Beside the ordinary internet we run one of our own, with names that exist nowhere else. This guide walks a name's whole life, from creation to deletion: we claim a name, add records to it, then remove them all and give the name back. It assumes you already have an account; if you do not, start with the first guide.
The screenshots show the English interface. The portal speaks six languages — pick yours with the EN button in the top-right corner.
1. Open the names cabinet
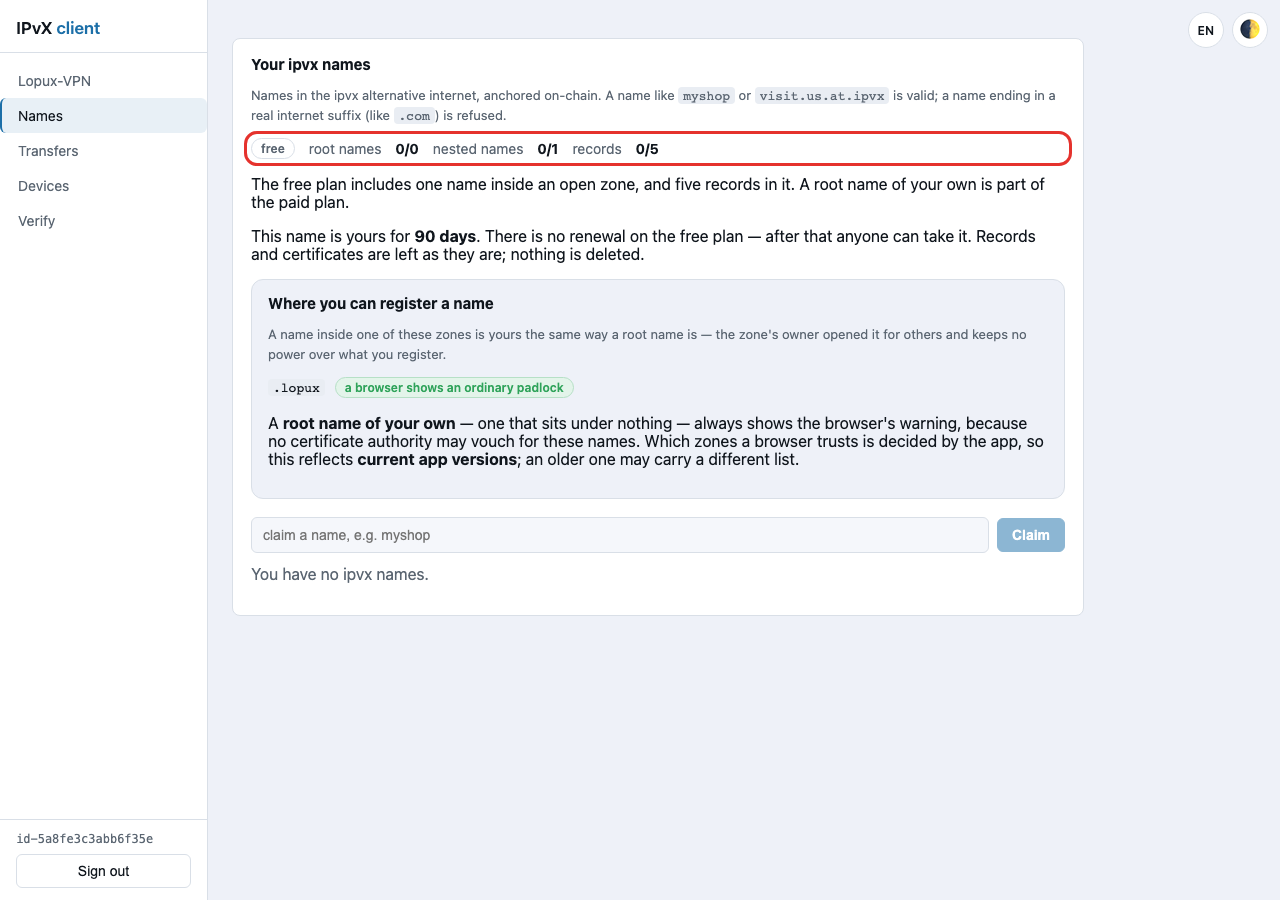
Sign in at clients.lopux.net and click Names in the left menu.
The item appears a second or two after you sign in, not instantly. The portal has to read the chain to know what you own, and it does not show a menu item it cannot yet fill.
2. What your plan allows
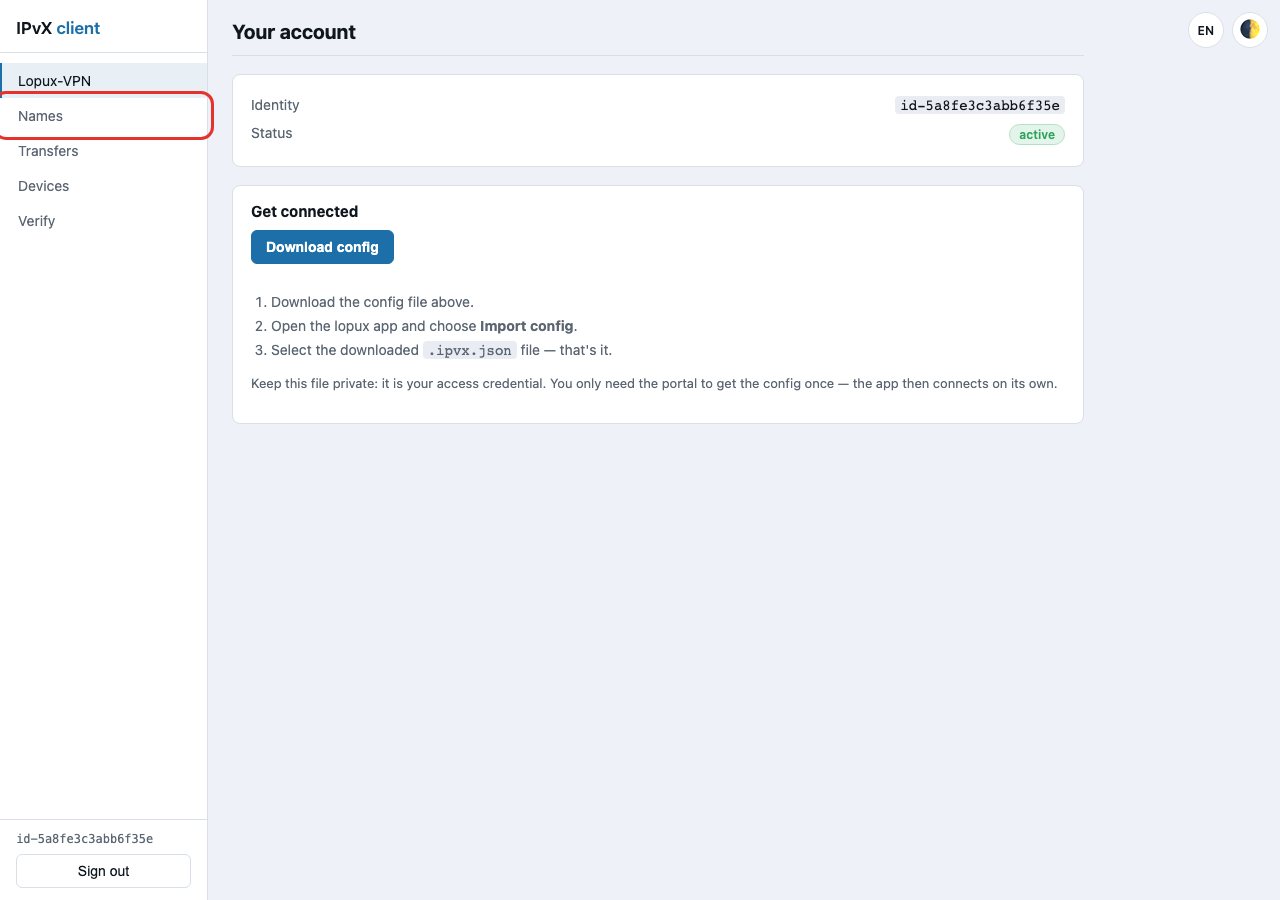
The line under the heading is your allowance, and what is already spent.
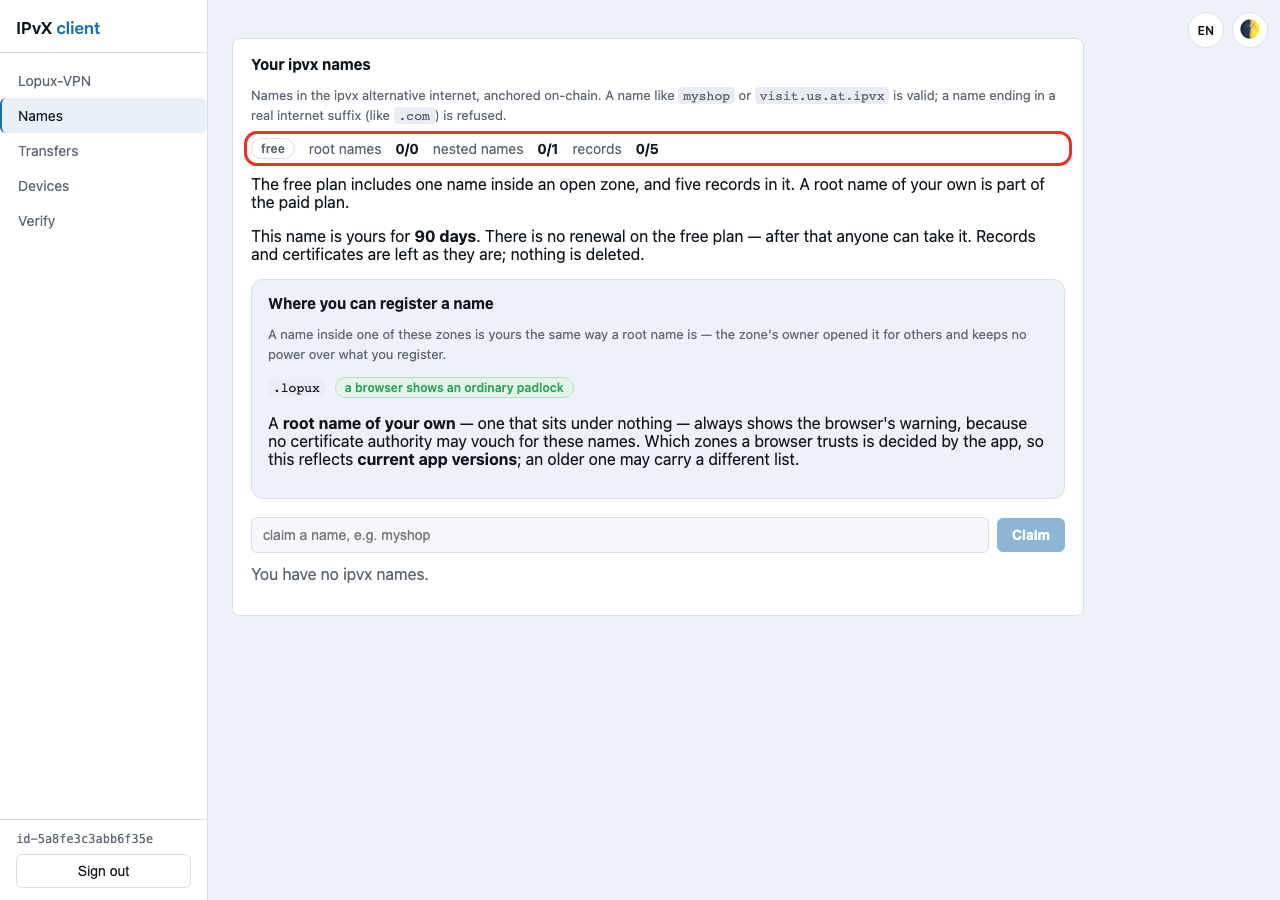
On the free plan that is one name, five records in it, and no root name of your own. A root name is one that sits under nothing — myshop rather than myshop.lopux — and it belongs to the paid plan.
A free name is yours for 90 days and is not renewed. The date is written when you claim it and never moves; after it passes, anyone can take the name. Nothing is deleted when it expires — the records and the certificate stay as they are, they simply stop being yours.
3. Where a name can live
Under the allowance the cabinet lists the zones that are open to everyone.
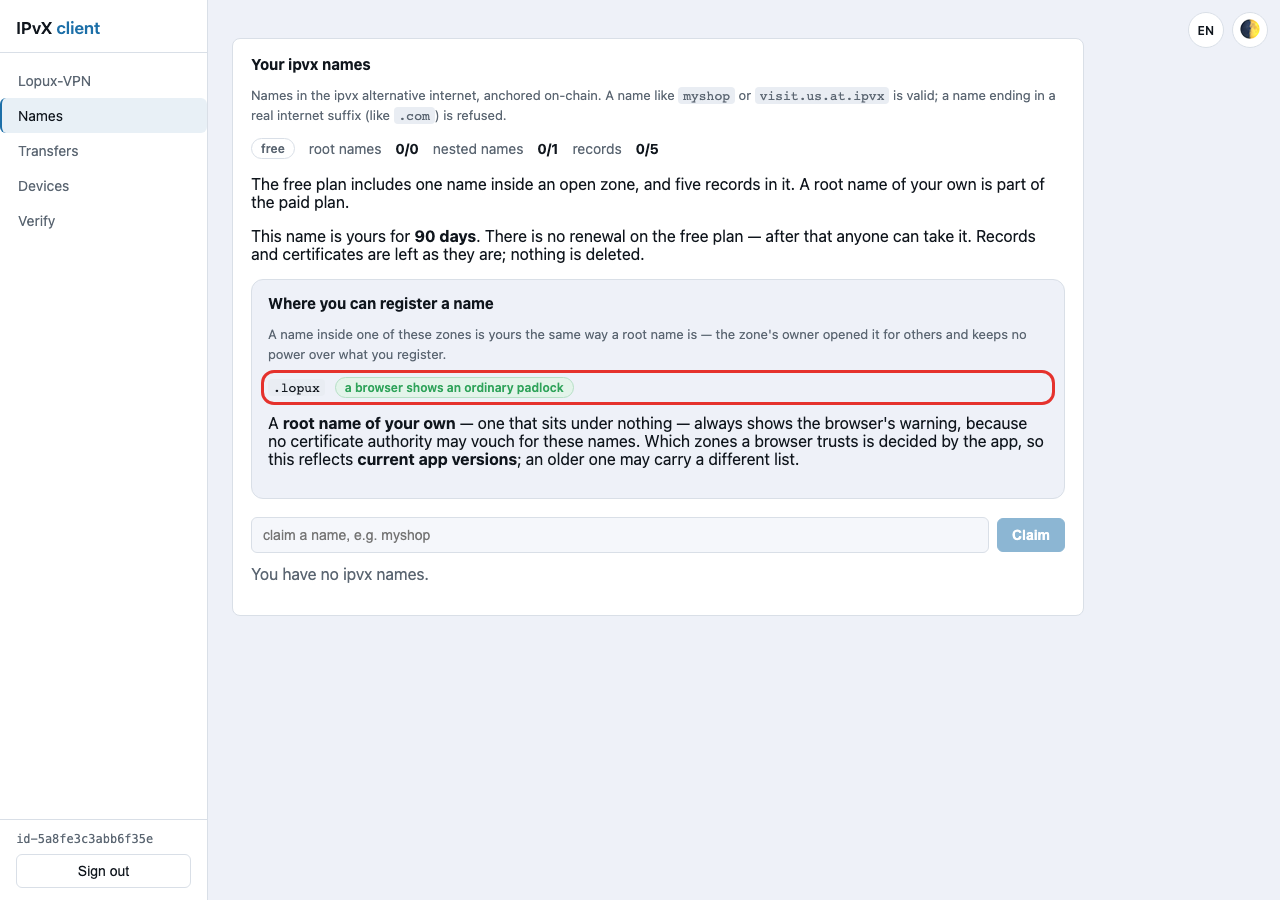
A name inside an open zone is yours exactly as a root name would be: the zone's owner opened it and keeps no power over what you register underneath. The badge beside each zone says what a browser does with it — .lopux gets an ordinary padlock in current app versions, while a root name of your own always raises the browser's certificate warning, because no certificate authority may vouch for these names.
4. Claim the name
Type the name you want and press Claim. This guide uses mysite.lopux.
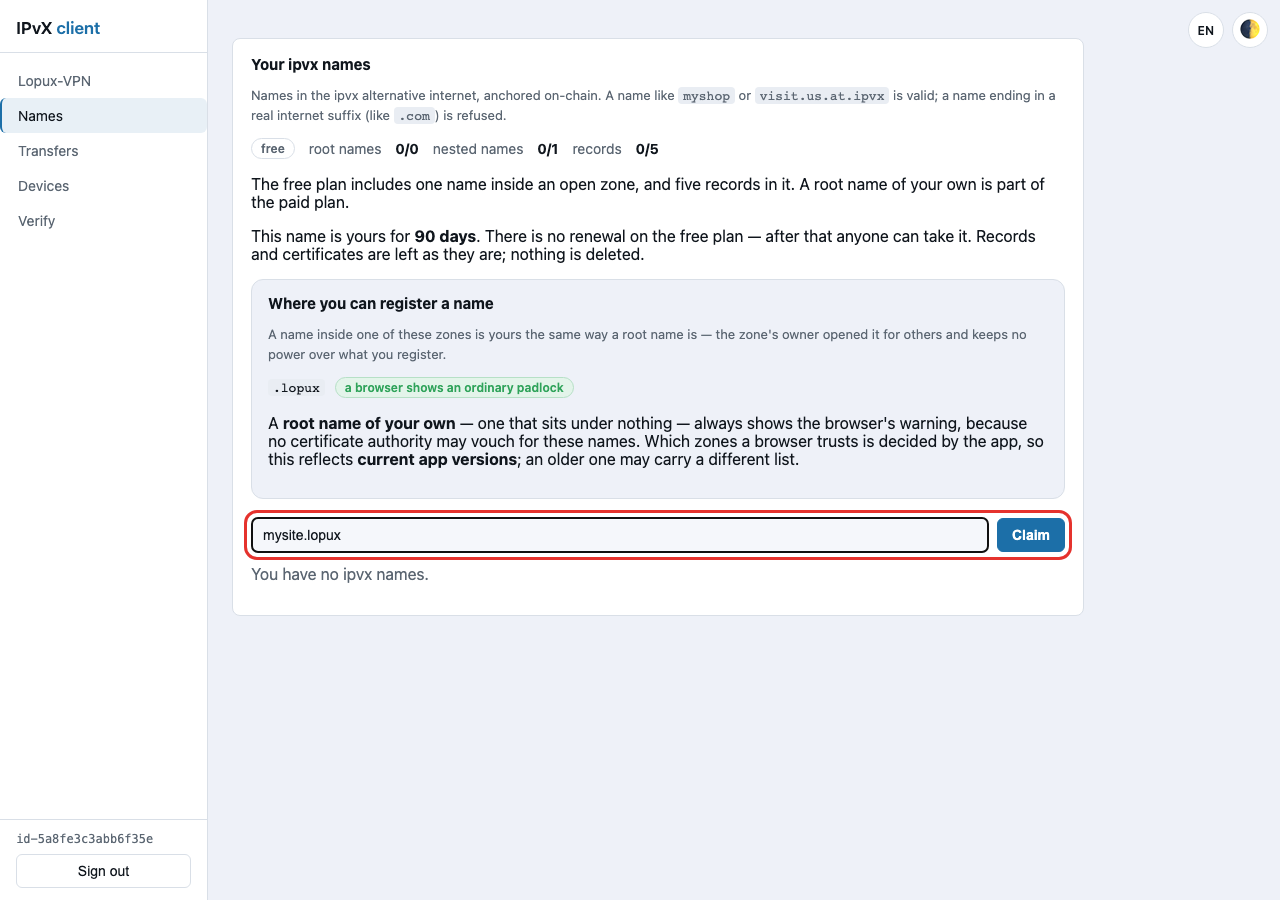
The name is written to the chain, so this takes a few seconds — two transactions, one for the name and one for the lease that sets its 90 days. When it lands, the name appears below the field.
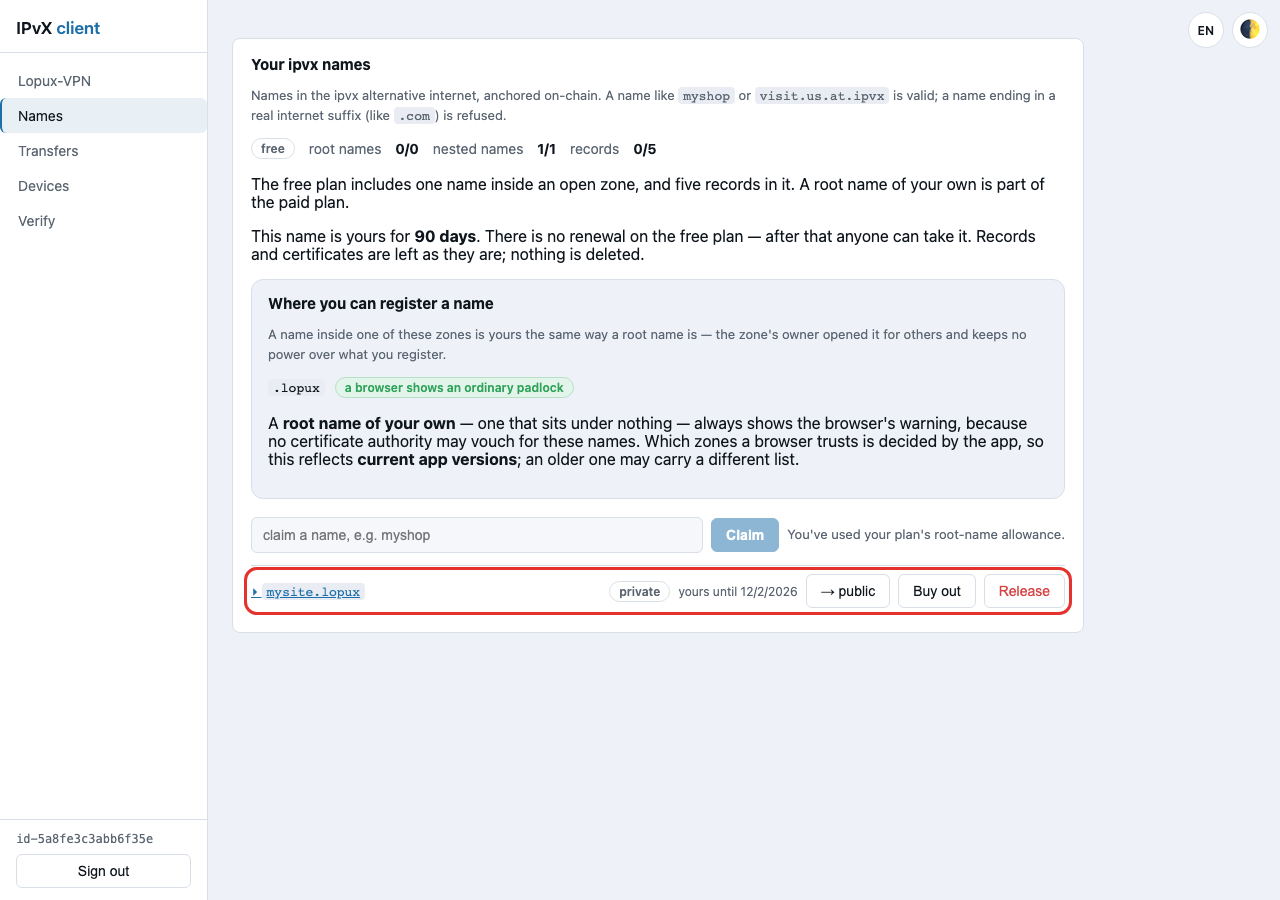
The row tells you the three things worth knowing: it is private (nobody else may register a name under yours — the button beside it opens that up), it is yours until a date three months out, and Release gives it back.
5. Point it at a server
Click the name to open it. A fresh name has no records.
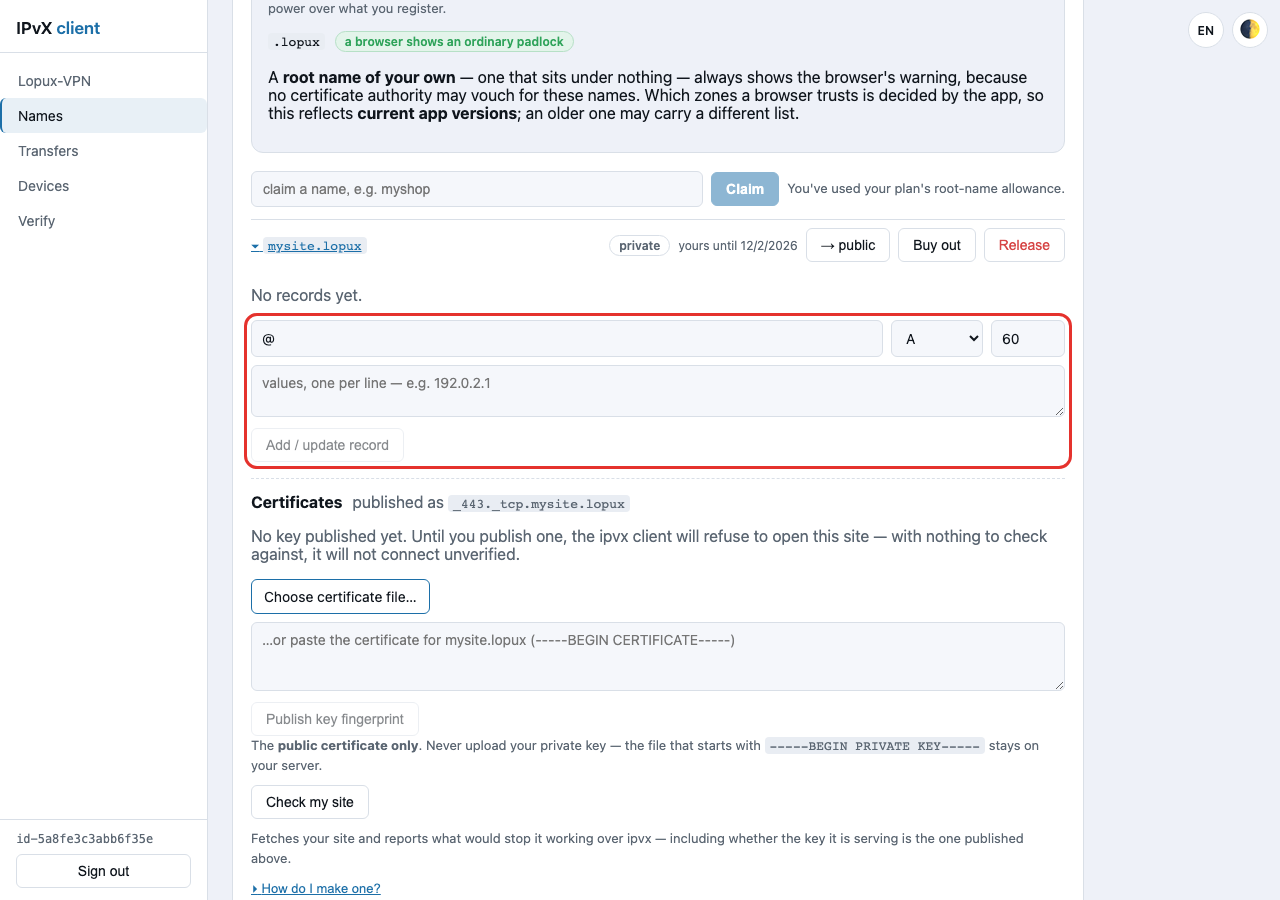
The form takes four things: the name (@ means the name itself, so mysite.lopux), the type, the TTL in seconds, and the value. For a web server that is an A record whose value is its address. Here it points at 178.104.230.218, which is the machine that serves lopux.net.
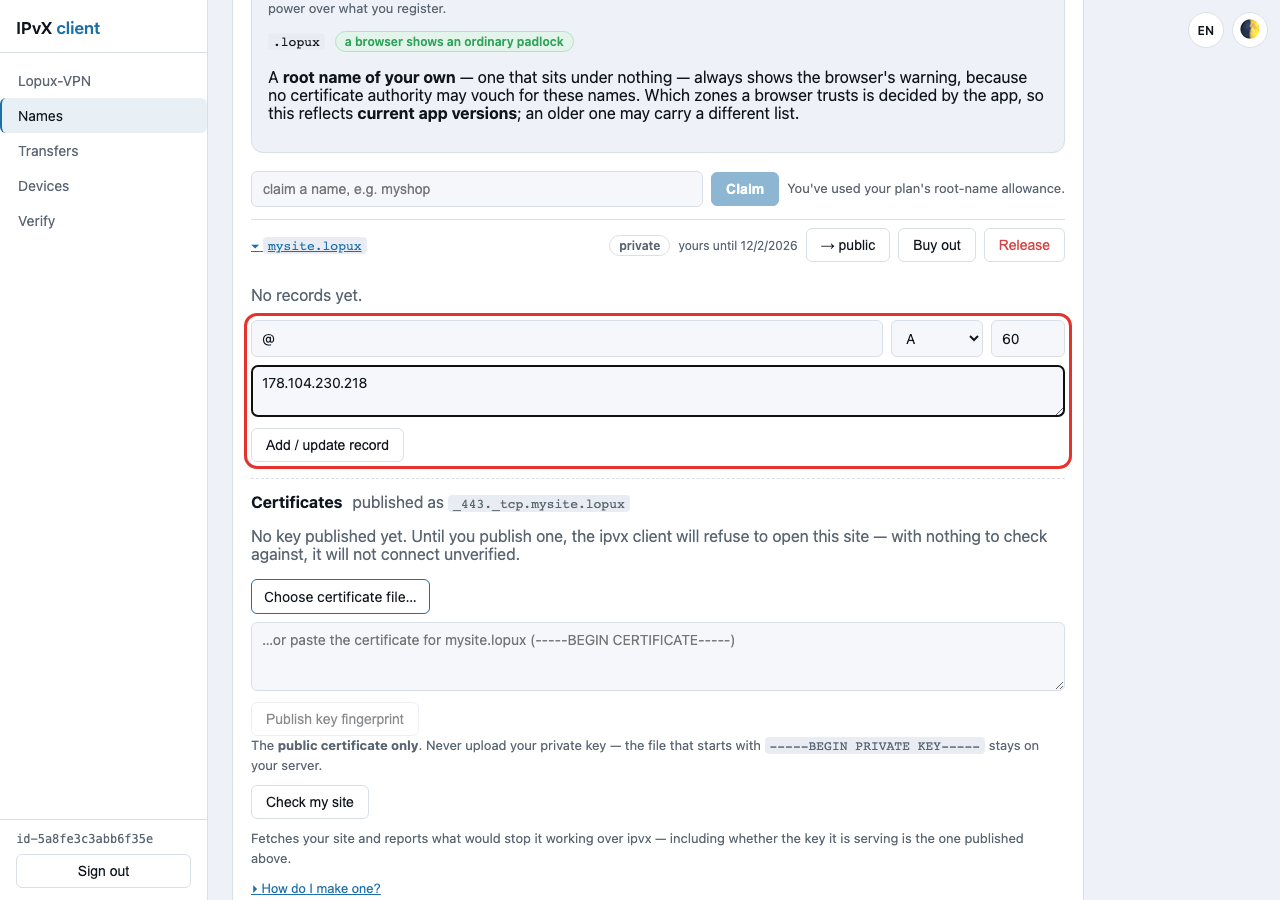
Press Add / update record. This is another write to the chain, so the button says Saving… for a few seconds.
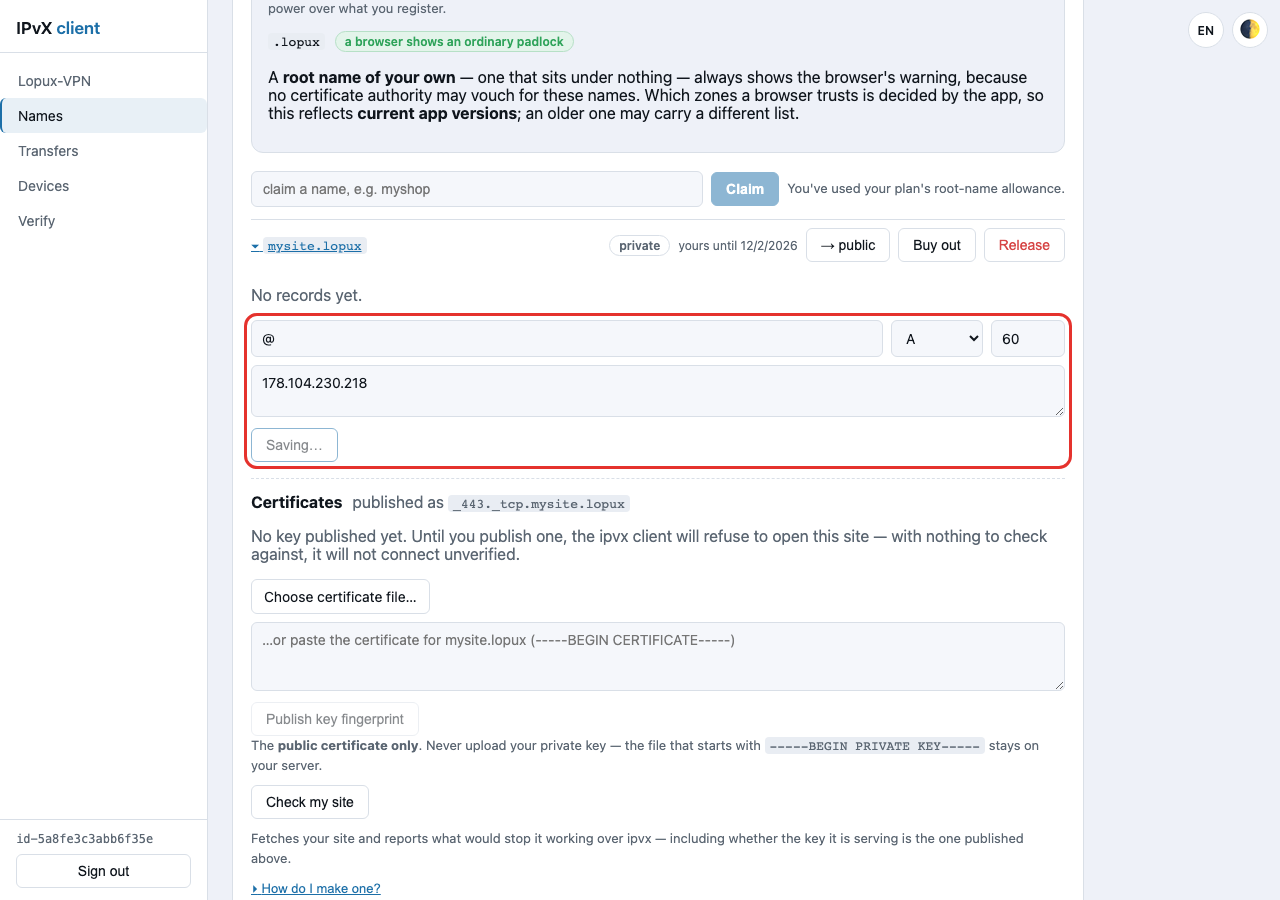
Once it confirms, the record is listed above the form.
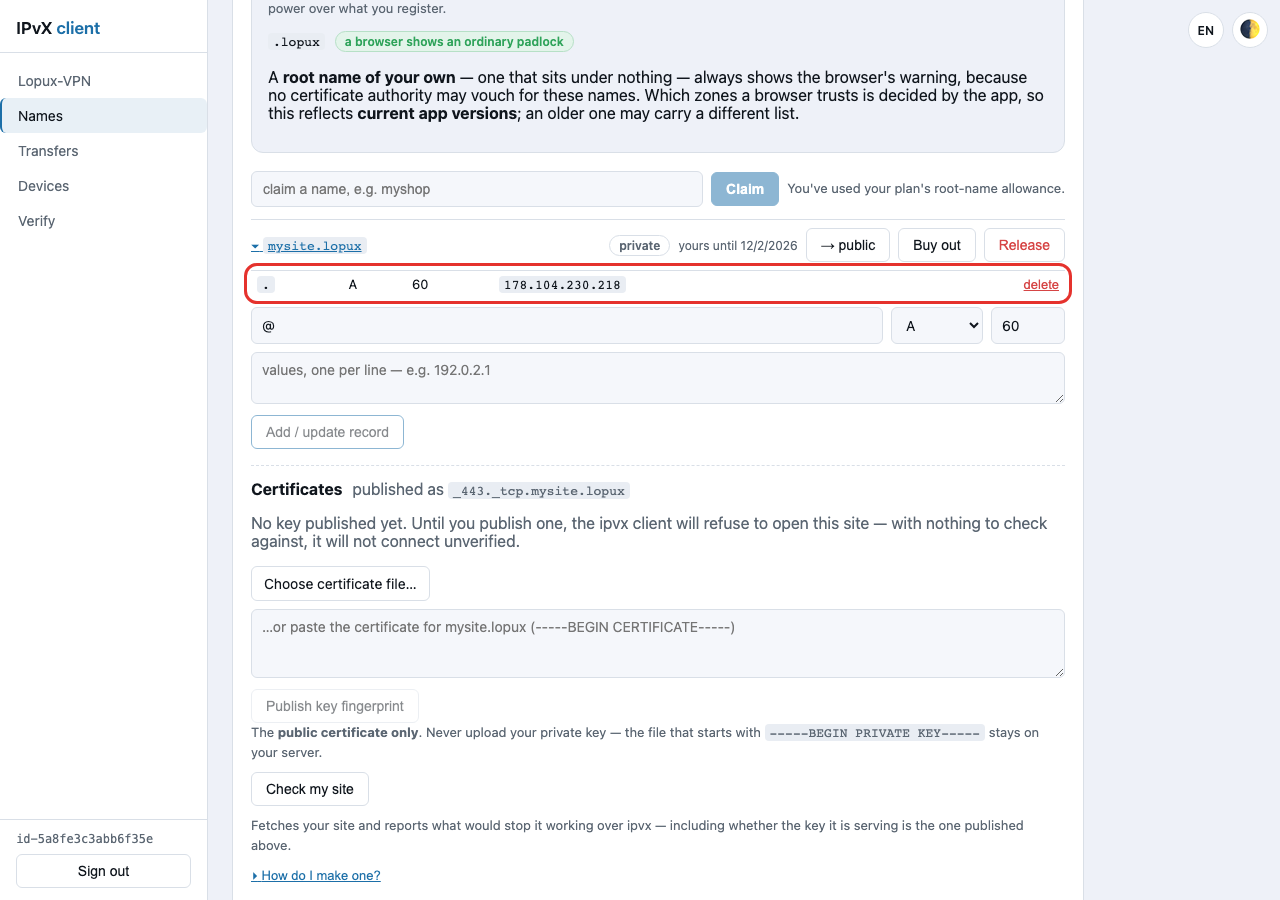
An address is not yet a working site. A browser reaching mysite.lopux over ipvx also wants a certificate it can check, and the Certificates panel further down is where you publish the key your server serves. Until you do, the app refuses to open the site rather than connecting unverified. That is a guide of its own; this one is about the name.
6. Remove the record
Press delete on the record's row. The portal asks first, because a record cannot be un-deleted.
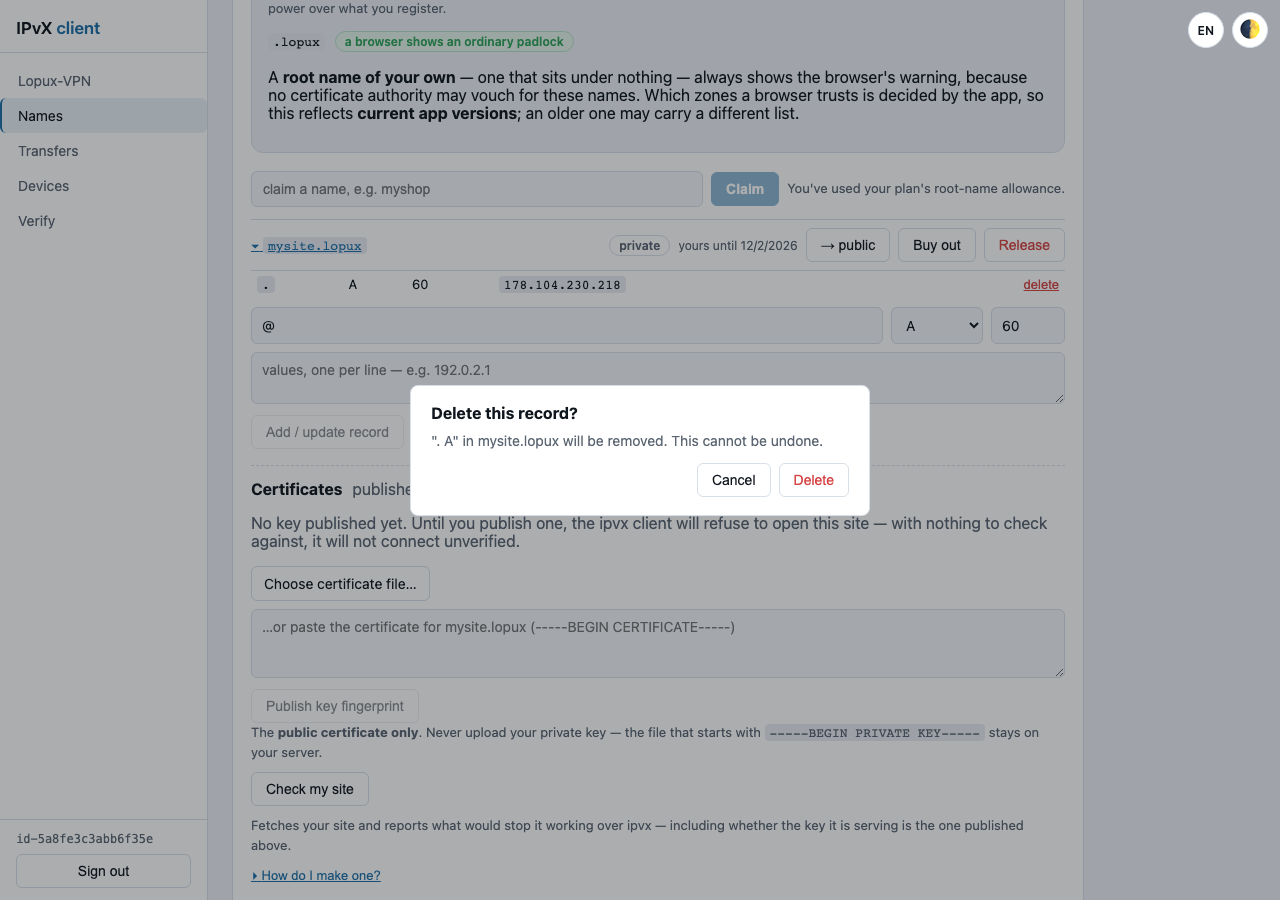
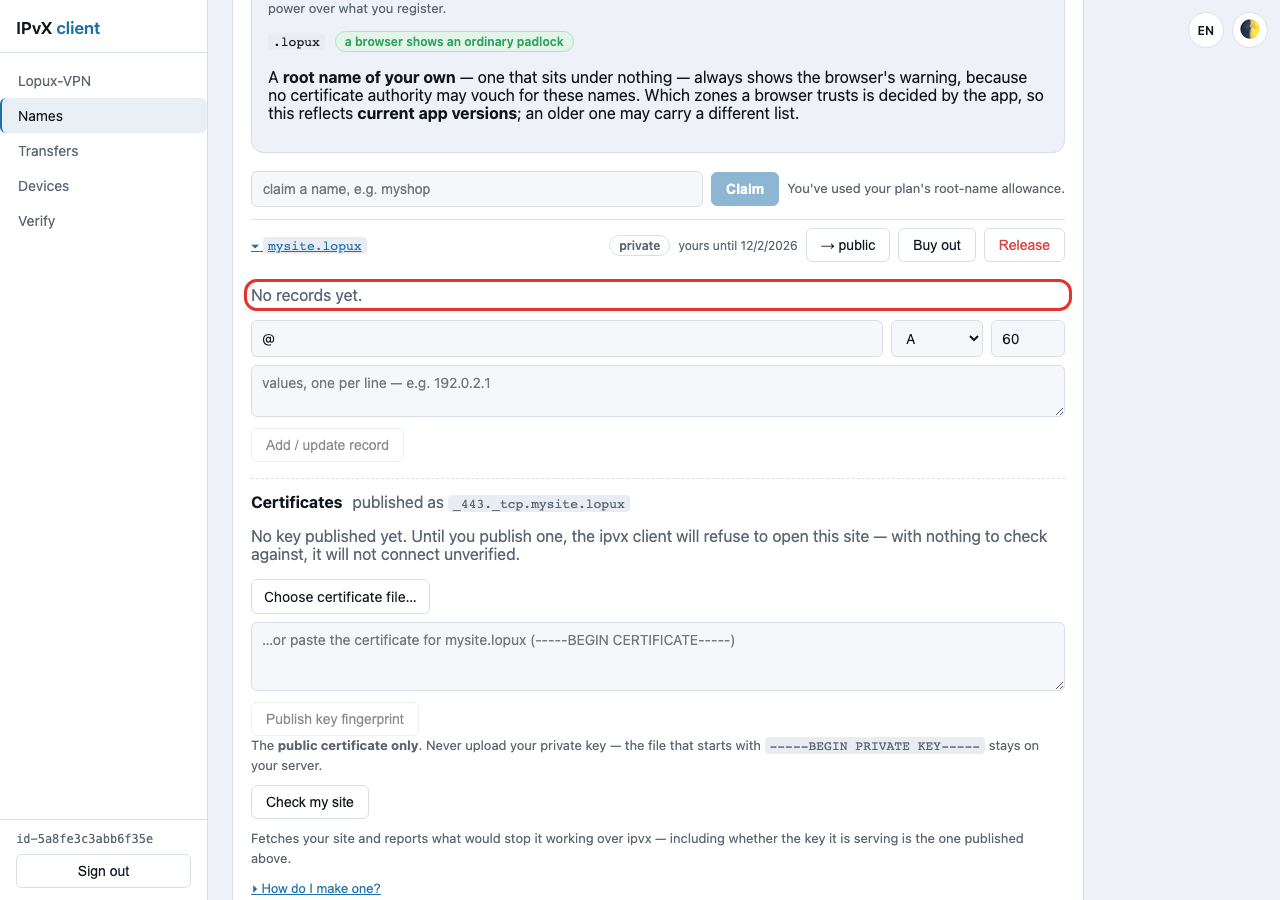
Confirm, and the list is empty again.
If a change comes back "the service could not complete this on-chain operation right now — try again shortly", press the button again. It is not your name or your record: the write to the chain did not go through this time, and the next attempt normally does.
7. Give the name back
Release hands the name back immediately — it does not wait for the 90 days.
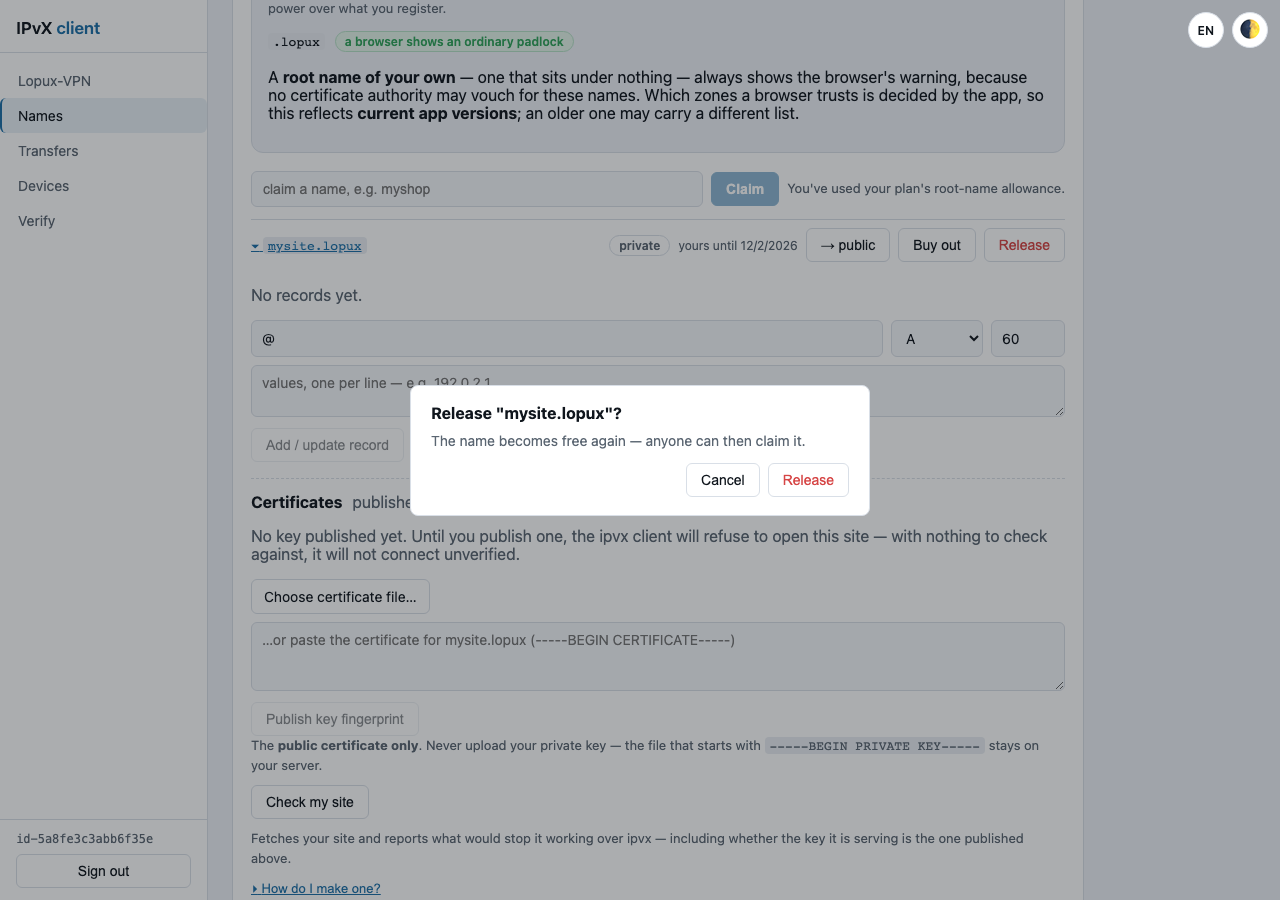
There is nothing to undo here: the moment it confirms, the name is free and anyone can claim it. Your allowance goes back to where it started.