
Lopux-VPN on a computer: from the download to the first connection
This guide is for someone who has nothing yet: no app, no account. It walks through the whole path on Windows and macOS — download the app, create an account, get your config, import it, and connect. It takes about ten minutes.
The screenshots show the English interface. The site, the portal and the app all speak six languages — pick yours with the EN button in the top-right corner of a page, or in the app's bottom-left corner.
1. Download the app
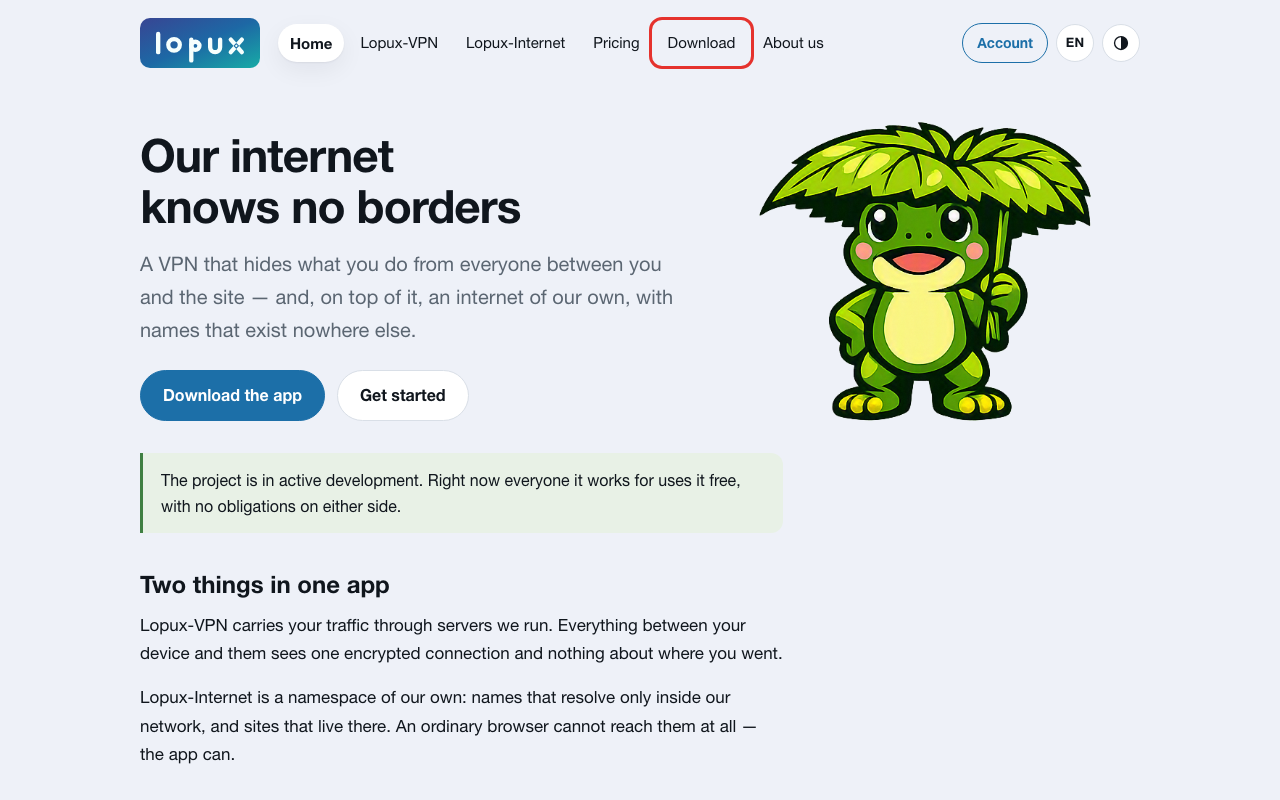
Open lopux.net and click Download in the top menu.
On the Download page pick your system. Windows has two builds — Intel and AMD (x64) fits almost every PC, ARM is for the rare ARM-based laptops. macOS has one build for both Apple silicon and Intel.
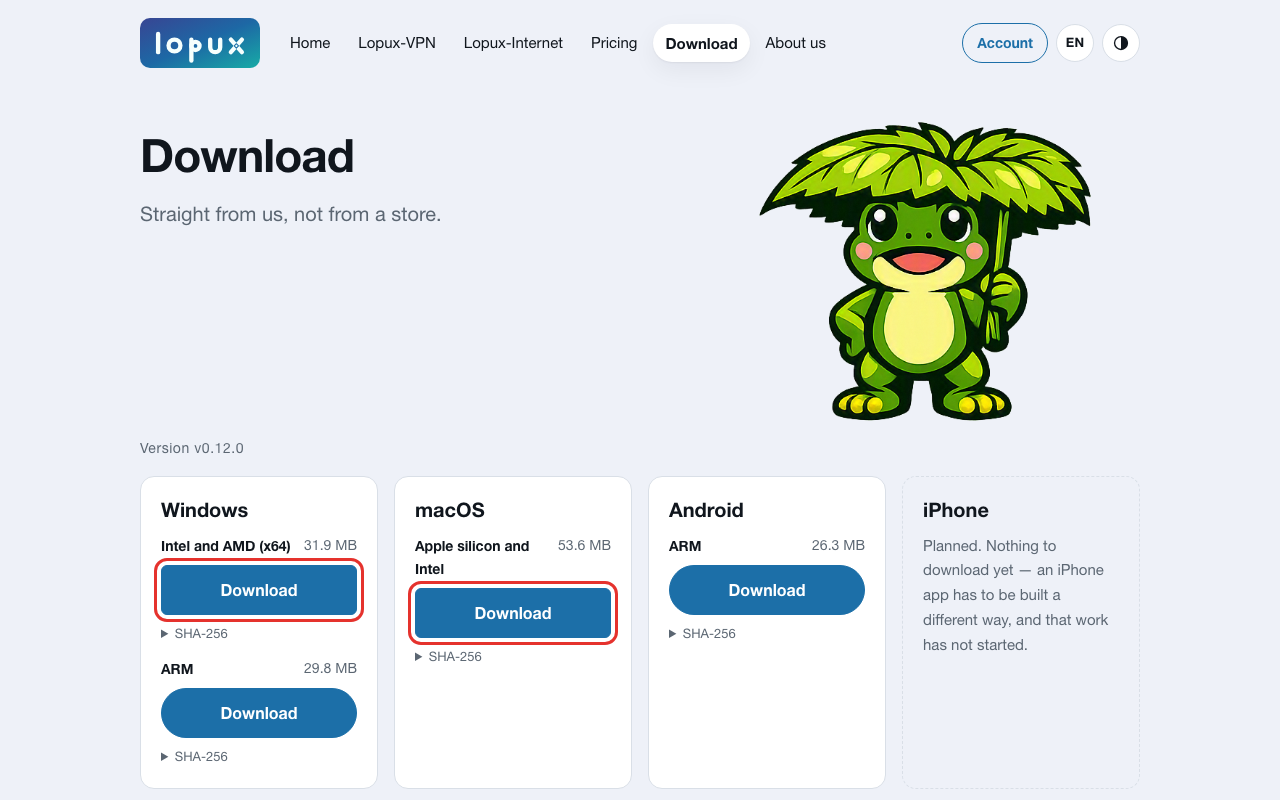
The Windows download is a single .exe that runs as it is — there is nothing to install. The macOS download is a .zip; unpack it and move lopux.app wherever you keep your apps.
2. Open it for the first time
The app is not signed with a developer certificate yet, so the system will say it does not know who made it. That is expected. What to press is written on the Download page, under The first launch will warn you:
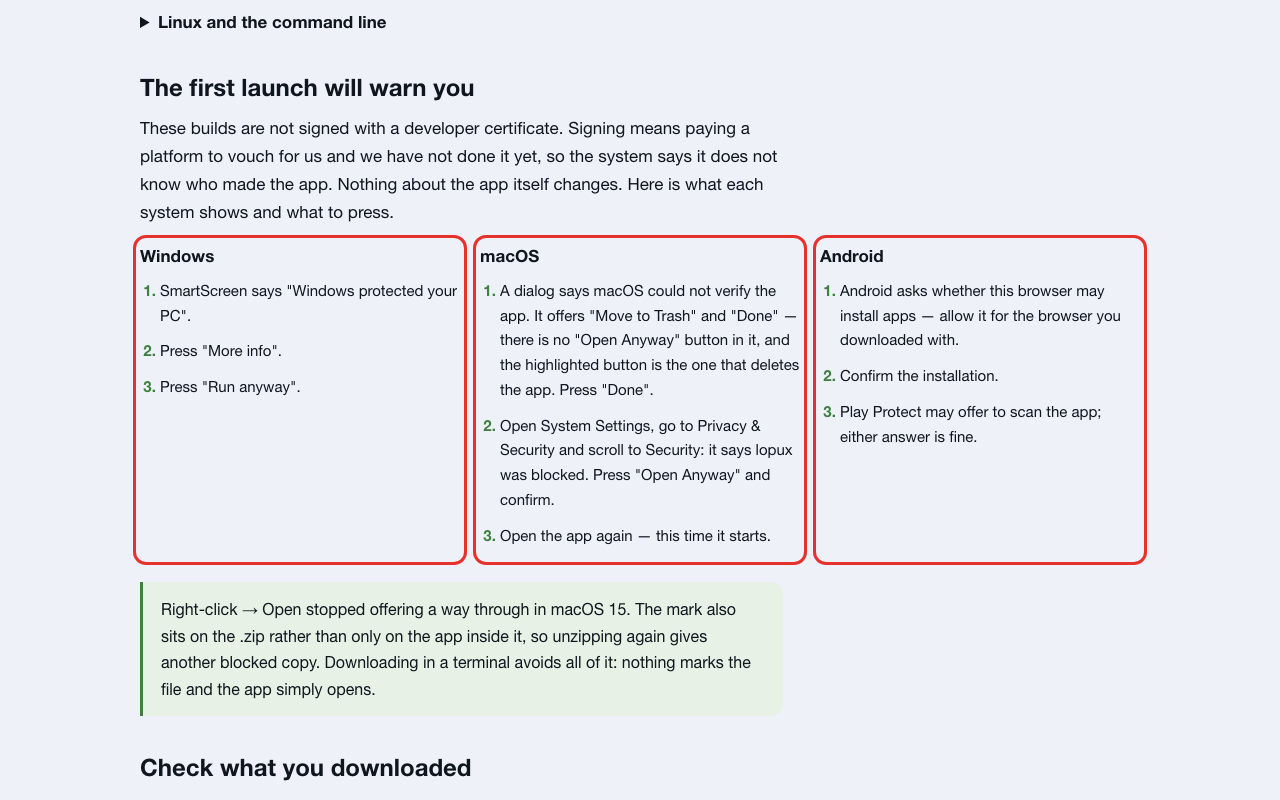
- Windows. SmartScreen says "Windows protected your PC". Press More info, then Run anyway.
- macOS. A dialog says macOS could not verify the app. Press Done (not "Move to Trash"). Then open System Settings → Privacy & Security, scroll to Security — it says lopux was blocked — and press Open Anyway. Open the app again; this time it starts.
3. Create an account
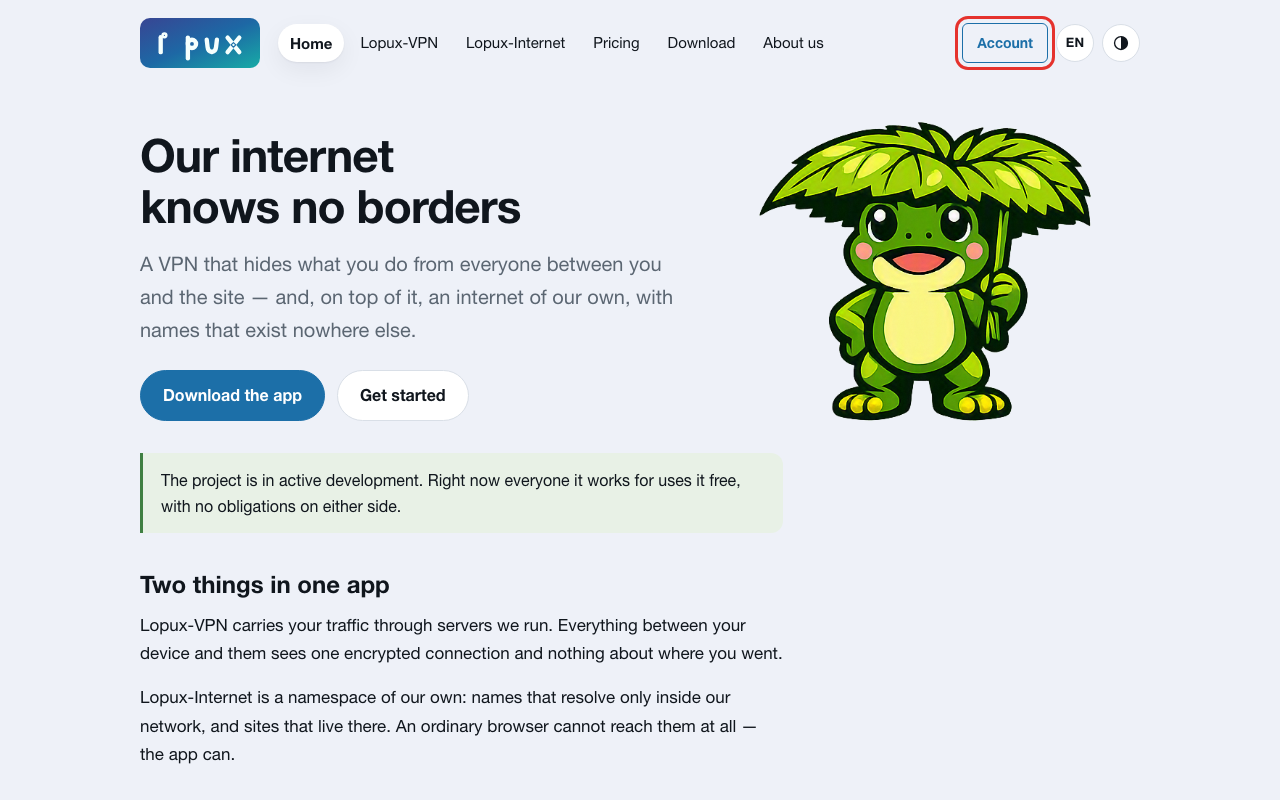
The app does not register anyone itself. The account is created on the client portal, which also issues the file the app needs. Click Account in the site's top-right corner, or go straight to clients.lopux.net.
You land on the sign-in page. You have no secret yet, so click Create one.
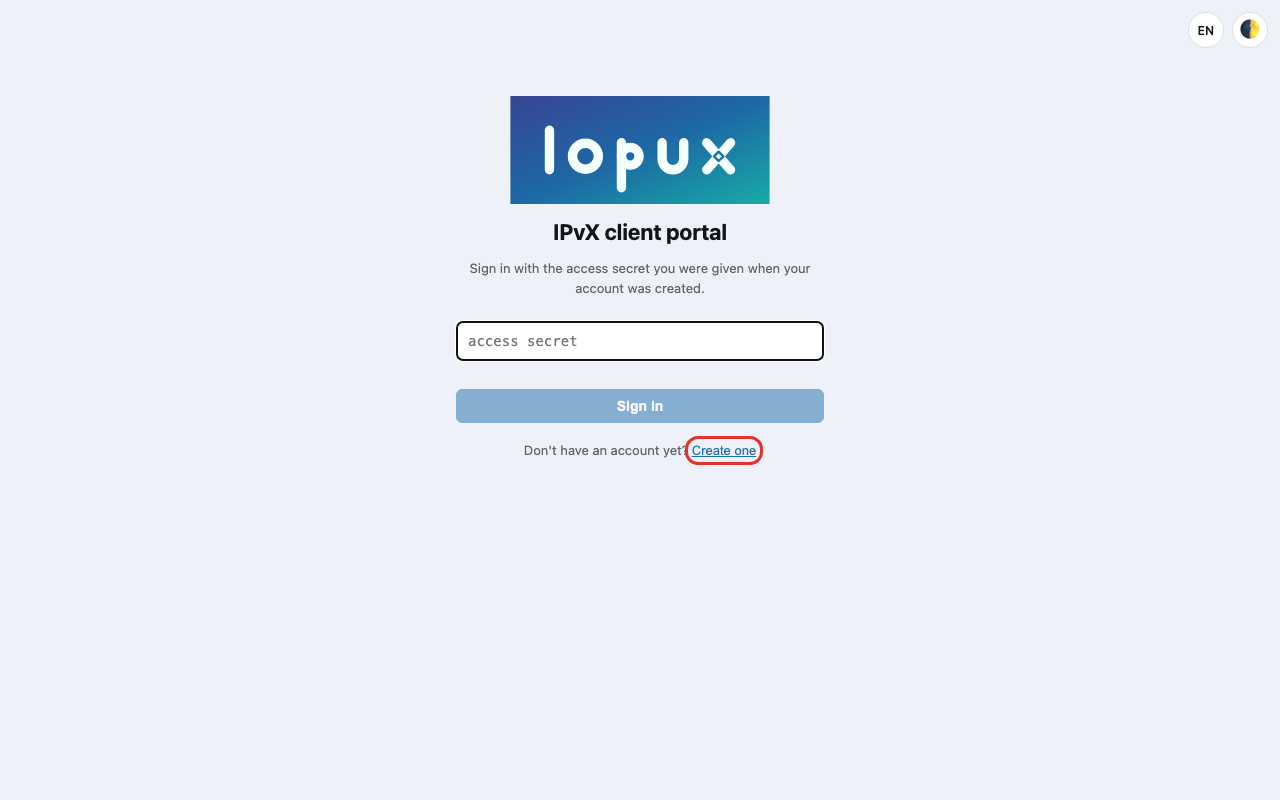
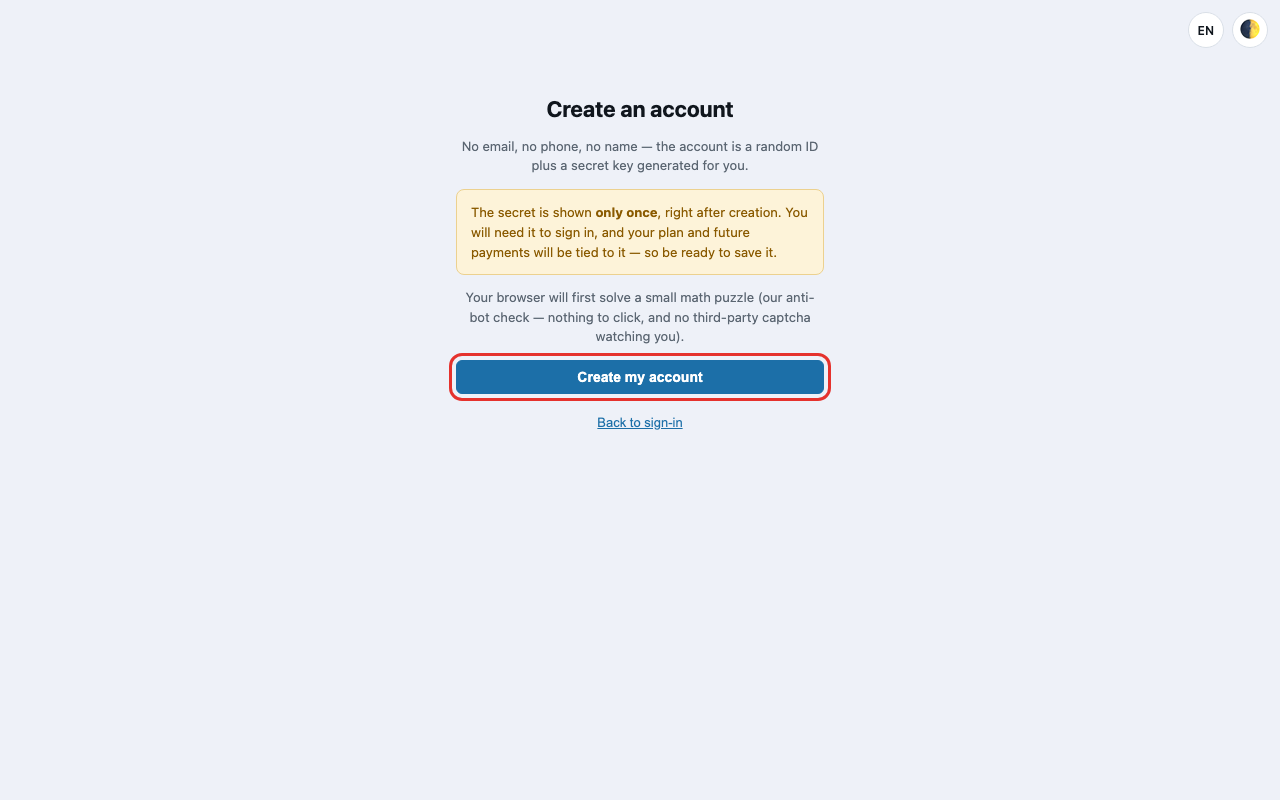
Read the note before pressing the button: there is no email, no phone, no name. The account is a random ID plus a secret, and the secret is shown once. Click Create my account. Your browser then solves a small math puzzle for a few seconds — that is the anti-bot check; there is nothing to click.
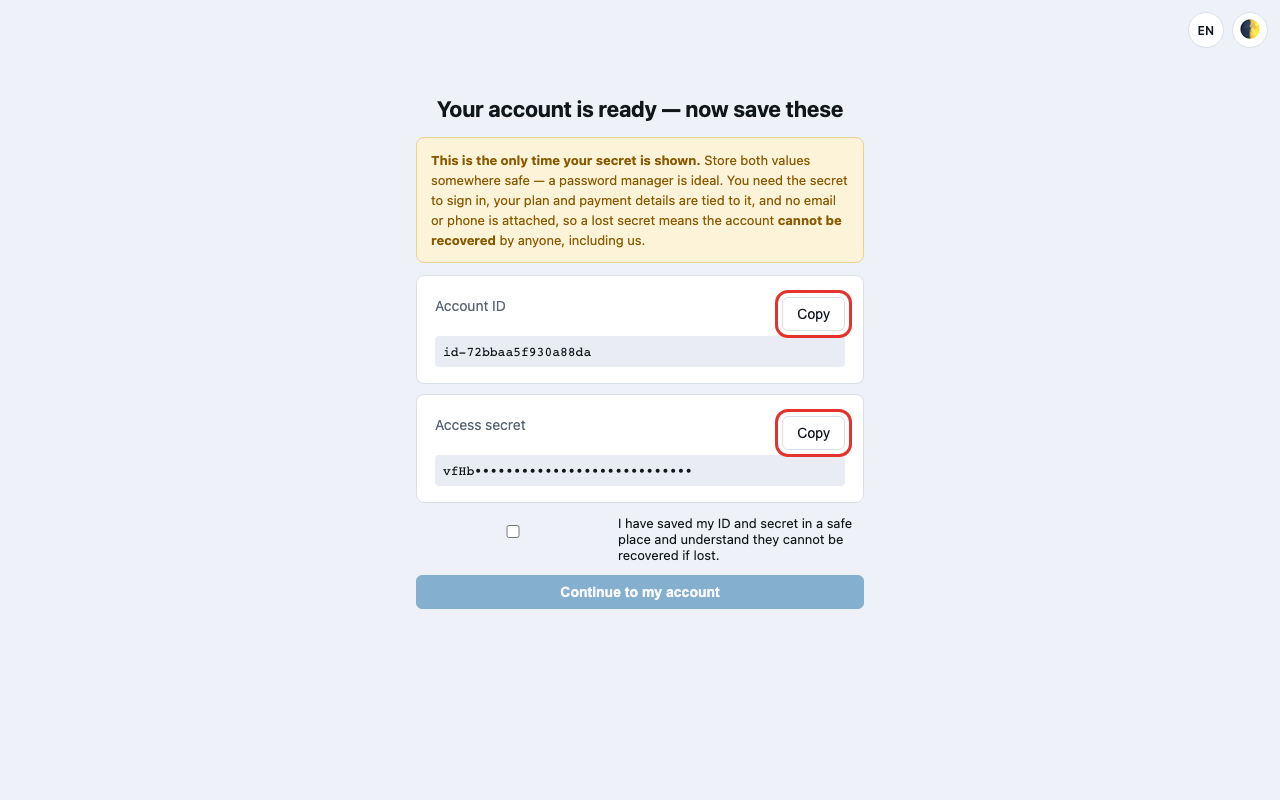
Your account is ready. Save both values now — press Copy next to each and put them into a password manager or another safe place. The secret is what you sign in with; nobody can restore it if it is lost, because nothing else is attached to the account.
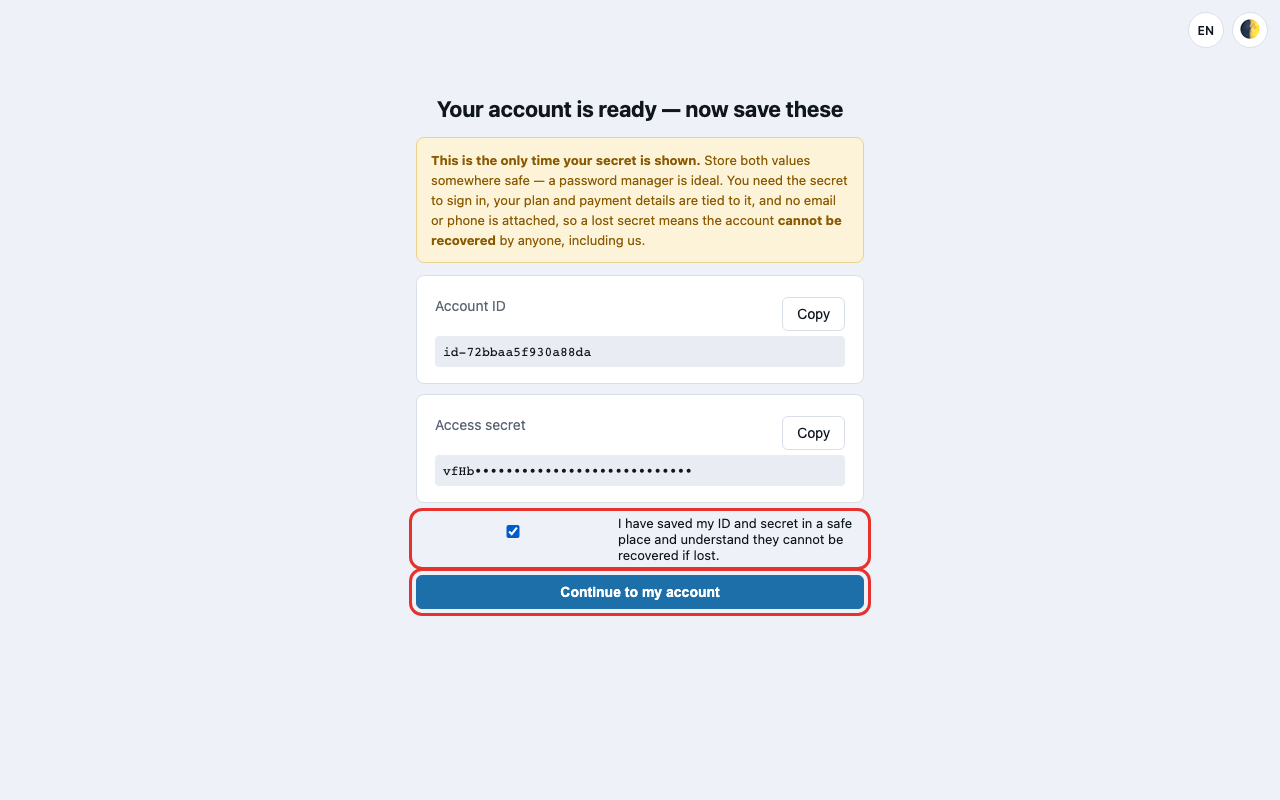
Tick the box that says you have saved them, then press Continue to my account.
4. Download your config
Your account page opens. Under Get connected press Download config. The browser saves a small file named after your account, for example id-72bbaa5f930a88da.ipvx.json.
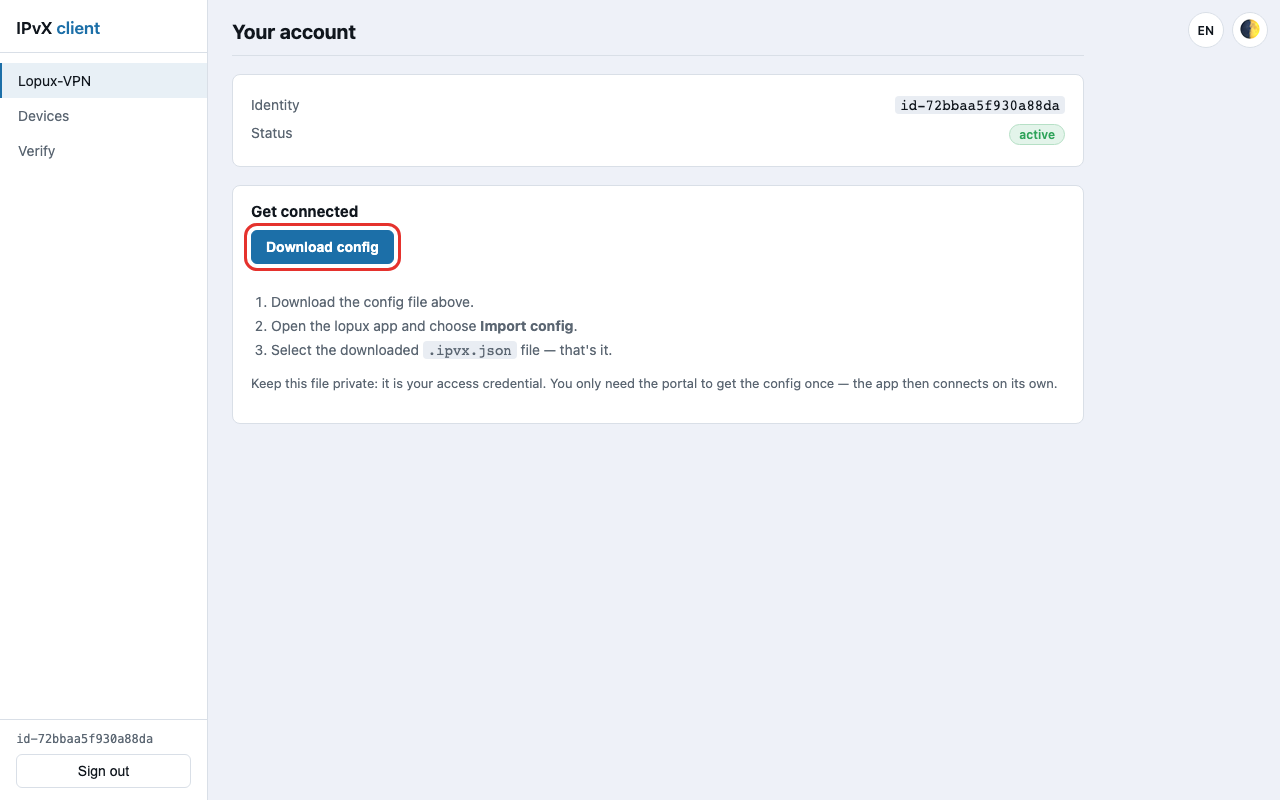
Keep this file private: it is your access credential. You only need the portal for this once — from here on the app connects on its own.
5. Import the config into the app
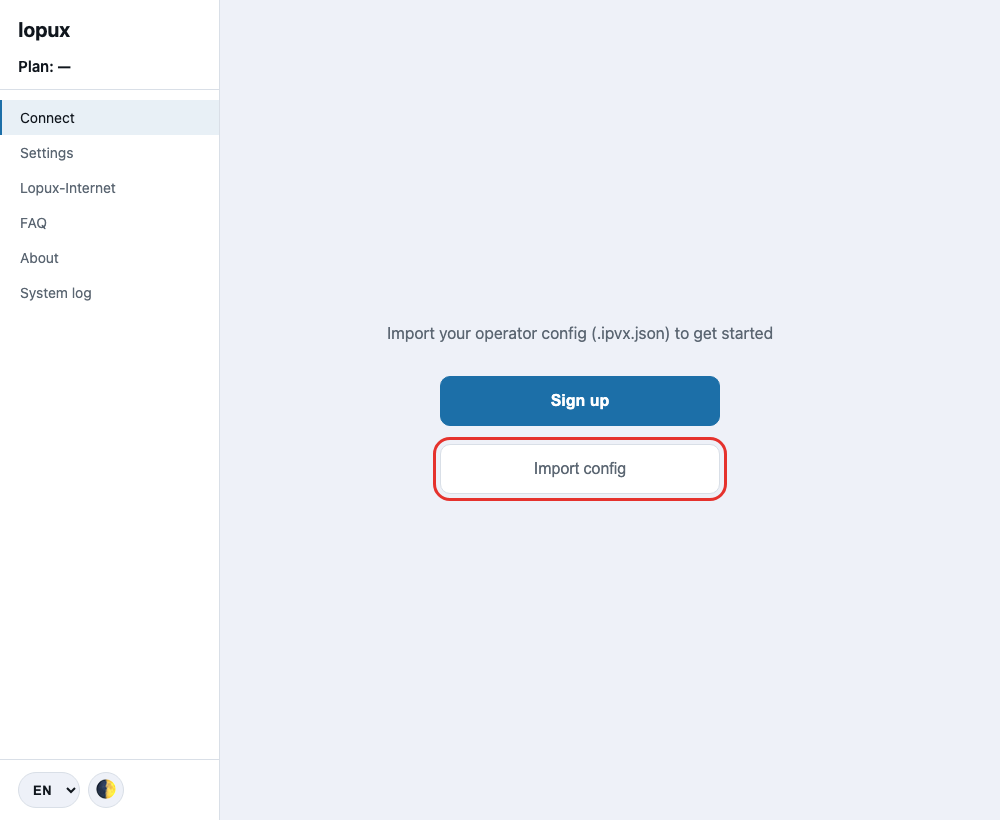
Open lopux. On its first run it shows two buttons: Sign up, which opens the portal (you have already done that part), and Import config. Press Import config and pick the .ipvx.json file you just downloaded.
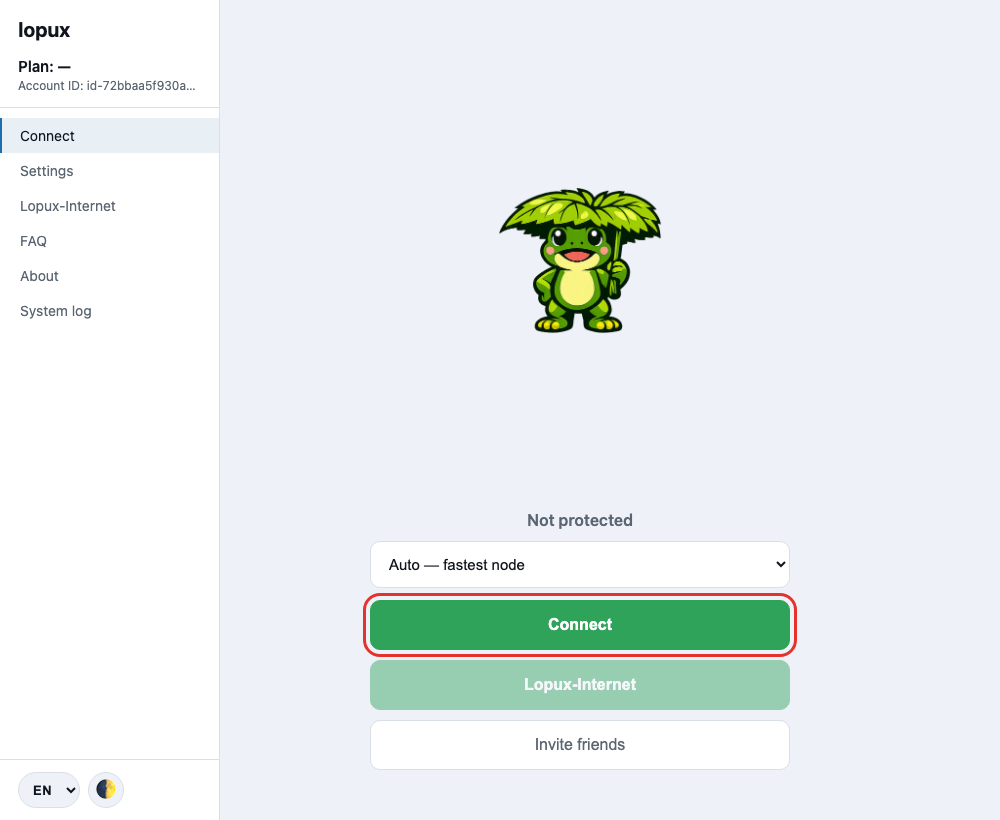
The connect screen appears: the mascot, the line Not protected, a server picker set to Auto — fastest node, and a green Connect button. Leave the picker on Auto.
6. Connect
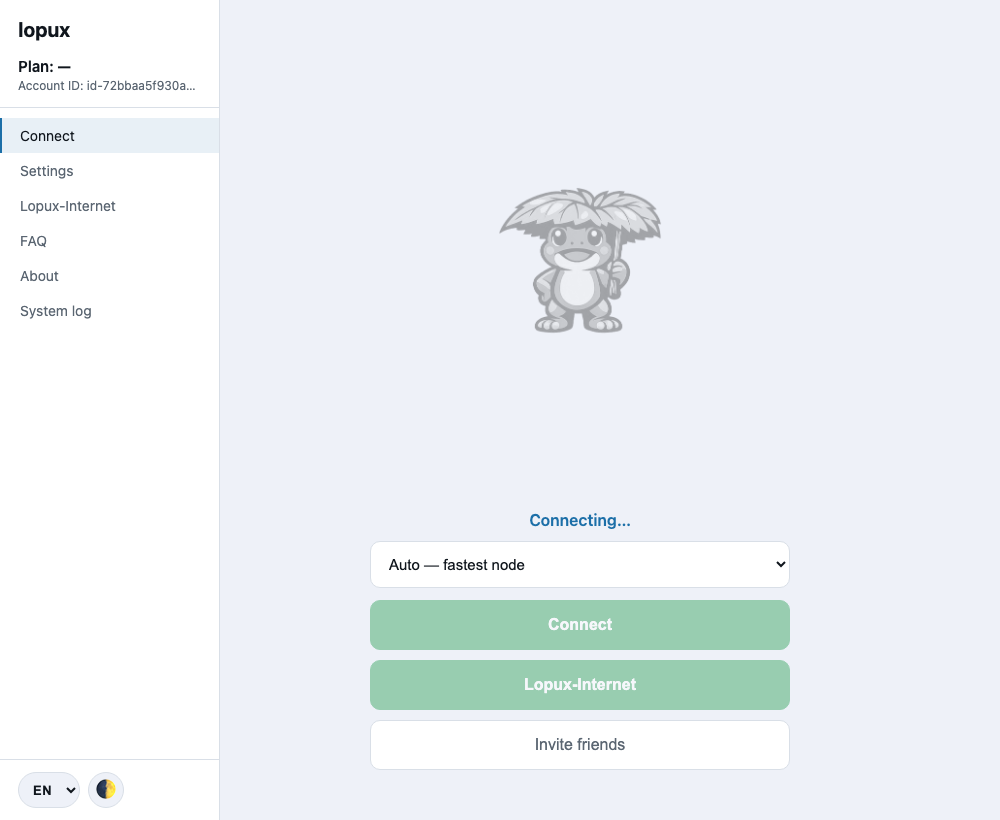
Press Connect. The mascot goes grey and the line says Connecting… while the app finds a server and checks that traffic actually passes through it.
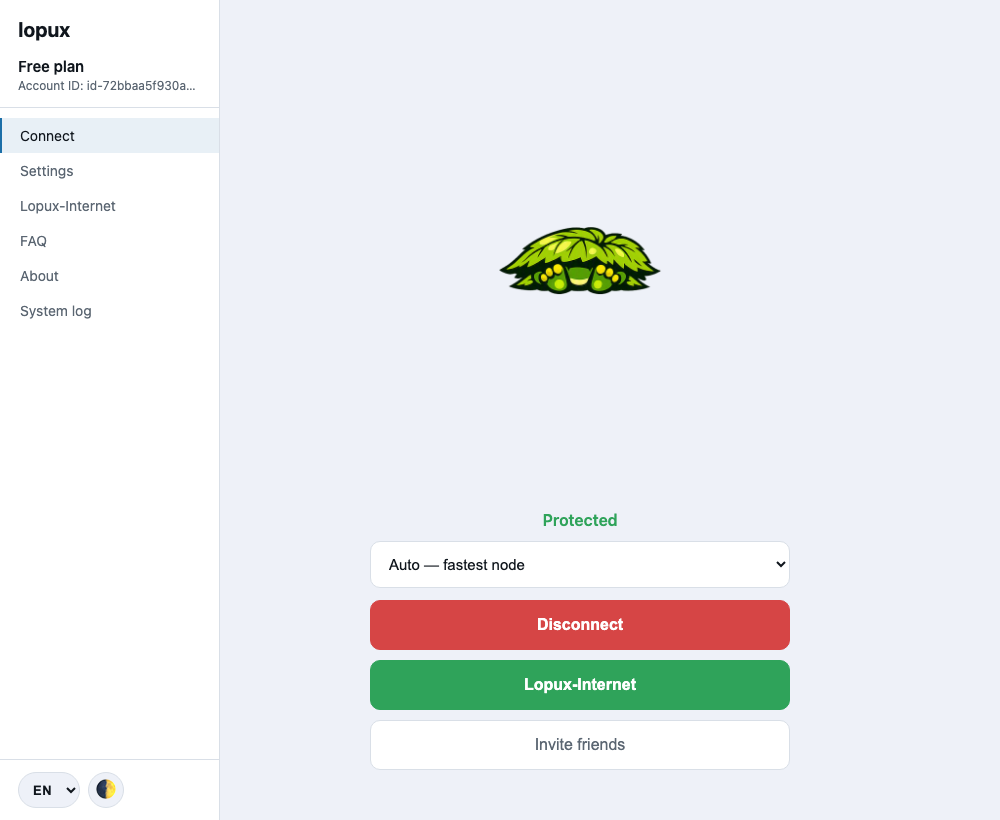
When the line turns green and says Protected, and the mascot hides under its leaf, you are connected. The sidebar now shows your plan. The same button, now red, disconnects.
Two things the system may ask on the way:
- macOS asks for your password once. That is the app setting the system proxy, which is how it routes your browser's traffic. Routing everything through the tunnel is a separate switch in Settings → Connection mode; turning it on installs a small helper and asks for the password again.
- Windows started normally routes traffic through a system proxy: browsers follow it, some other programs may not. To route everything, close the app and start it with right-click → Run as administrator.
If something is off
- "Connected, but nothing is getting through." The app is already trying the other servers on its own; give it a minute. If the line does not change, pick another server from the list, or download a fresh config from the portal and import it again.
- You lost the secret. It cannot be recovered — create a new account and import its config; the old one simply stays unused.
- A red banner says the device was disconnected. Your account is in use on as many devices as your plan allows. Press Use this device again on the device you want to use.